
Set up MySQL on a Windows machine
To set up MySQL on a Windows machine, you will need to follow these steps:
- Download and install MySQL:
- Go to the MySQL website (https://www.mysql.com/) and click on the "Downloads" button.
- On the downloads page, click on the "MySQL Installer" button under the "MySQL Installer" section.
- Select the appropriate installer for your system (e.g. Windows (x86, 32-bit), MSI Installer).
- Run the installer and follow the prompts to complete the installation.
- Configure MySQL:
- After installation, run the MySQL Configuration Wizard from the Start menu.
- Choose the "Detailed Configuration" option.
- Select the appropriate options for your system (e.g. Server Type, Connection Method).
Choose a password for the root user (this will be the administrator account for MySQL).
- Select the options for the InnoDB storage engine, based on your needs.
- Select the options for the MySQL Server as a Windows Service, based on your needs.
- Click "Execute" to apply the configuration changes.
- Start the MySQL Server:
- After the configuration is complete, the MySQL Server should be started automatically.
- If the server is not started, you can start it manually by going to the Start menu and selecting "MySQL" > "MySQL Server x.x" > "MySQL Server x.x Command Line Client".
- In the command line client, type
-
mysql -u root -p
-
- and enter the password you set for the root user to log in.
- Create a database:
- Once you are logged in to the MySQL server, you can create a new database by typing the following command:
-
CREATE DATABASE database_name;
-
- Replace "database_name" with the name you want to give to your database.
- Once you are logged in to the MySQL server, you can create a new database by typing the following command:
Create a user and grant permissions:
- To create a new user and grant them permission to access the database, use the following commands:
CREATE USER 'username'@'localhost' IDENTIFIED BY 'password';GRANT ALL PRIVILEGES ON database_name.* TO 'username'@'localhost';
- Test the setup:
- To test the setup, you can try connecting to the MySQL server and accessing the database you created using a MySQL client.
- Some popular MySQL clients include MySQL Workbench, Sequel Pro, and HeidiSQL.
- To connect to the MySQL server using a client, you will need to provide the hostname (usually "localhost"), username, and password for the user you created.
Connection In VsCode
To use MySQL with Visual Studio Code (VS Code), you will need to follow these steps:
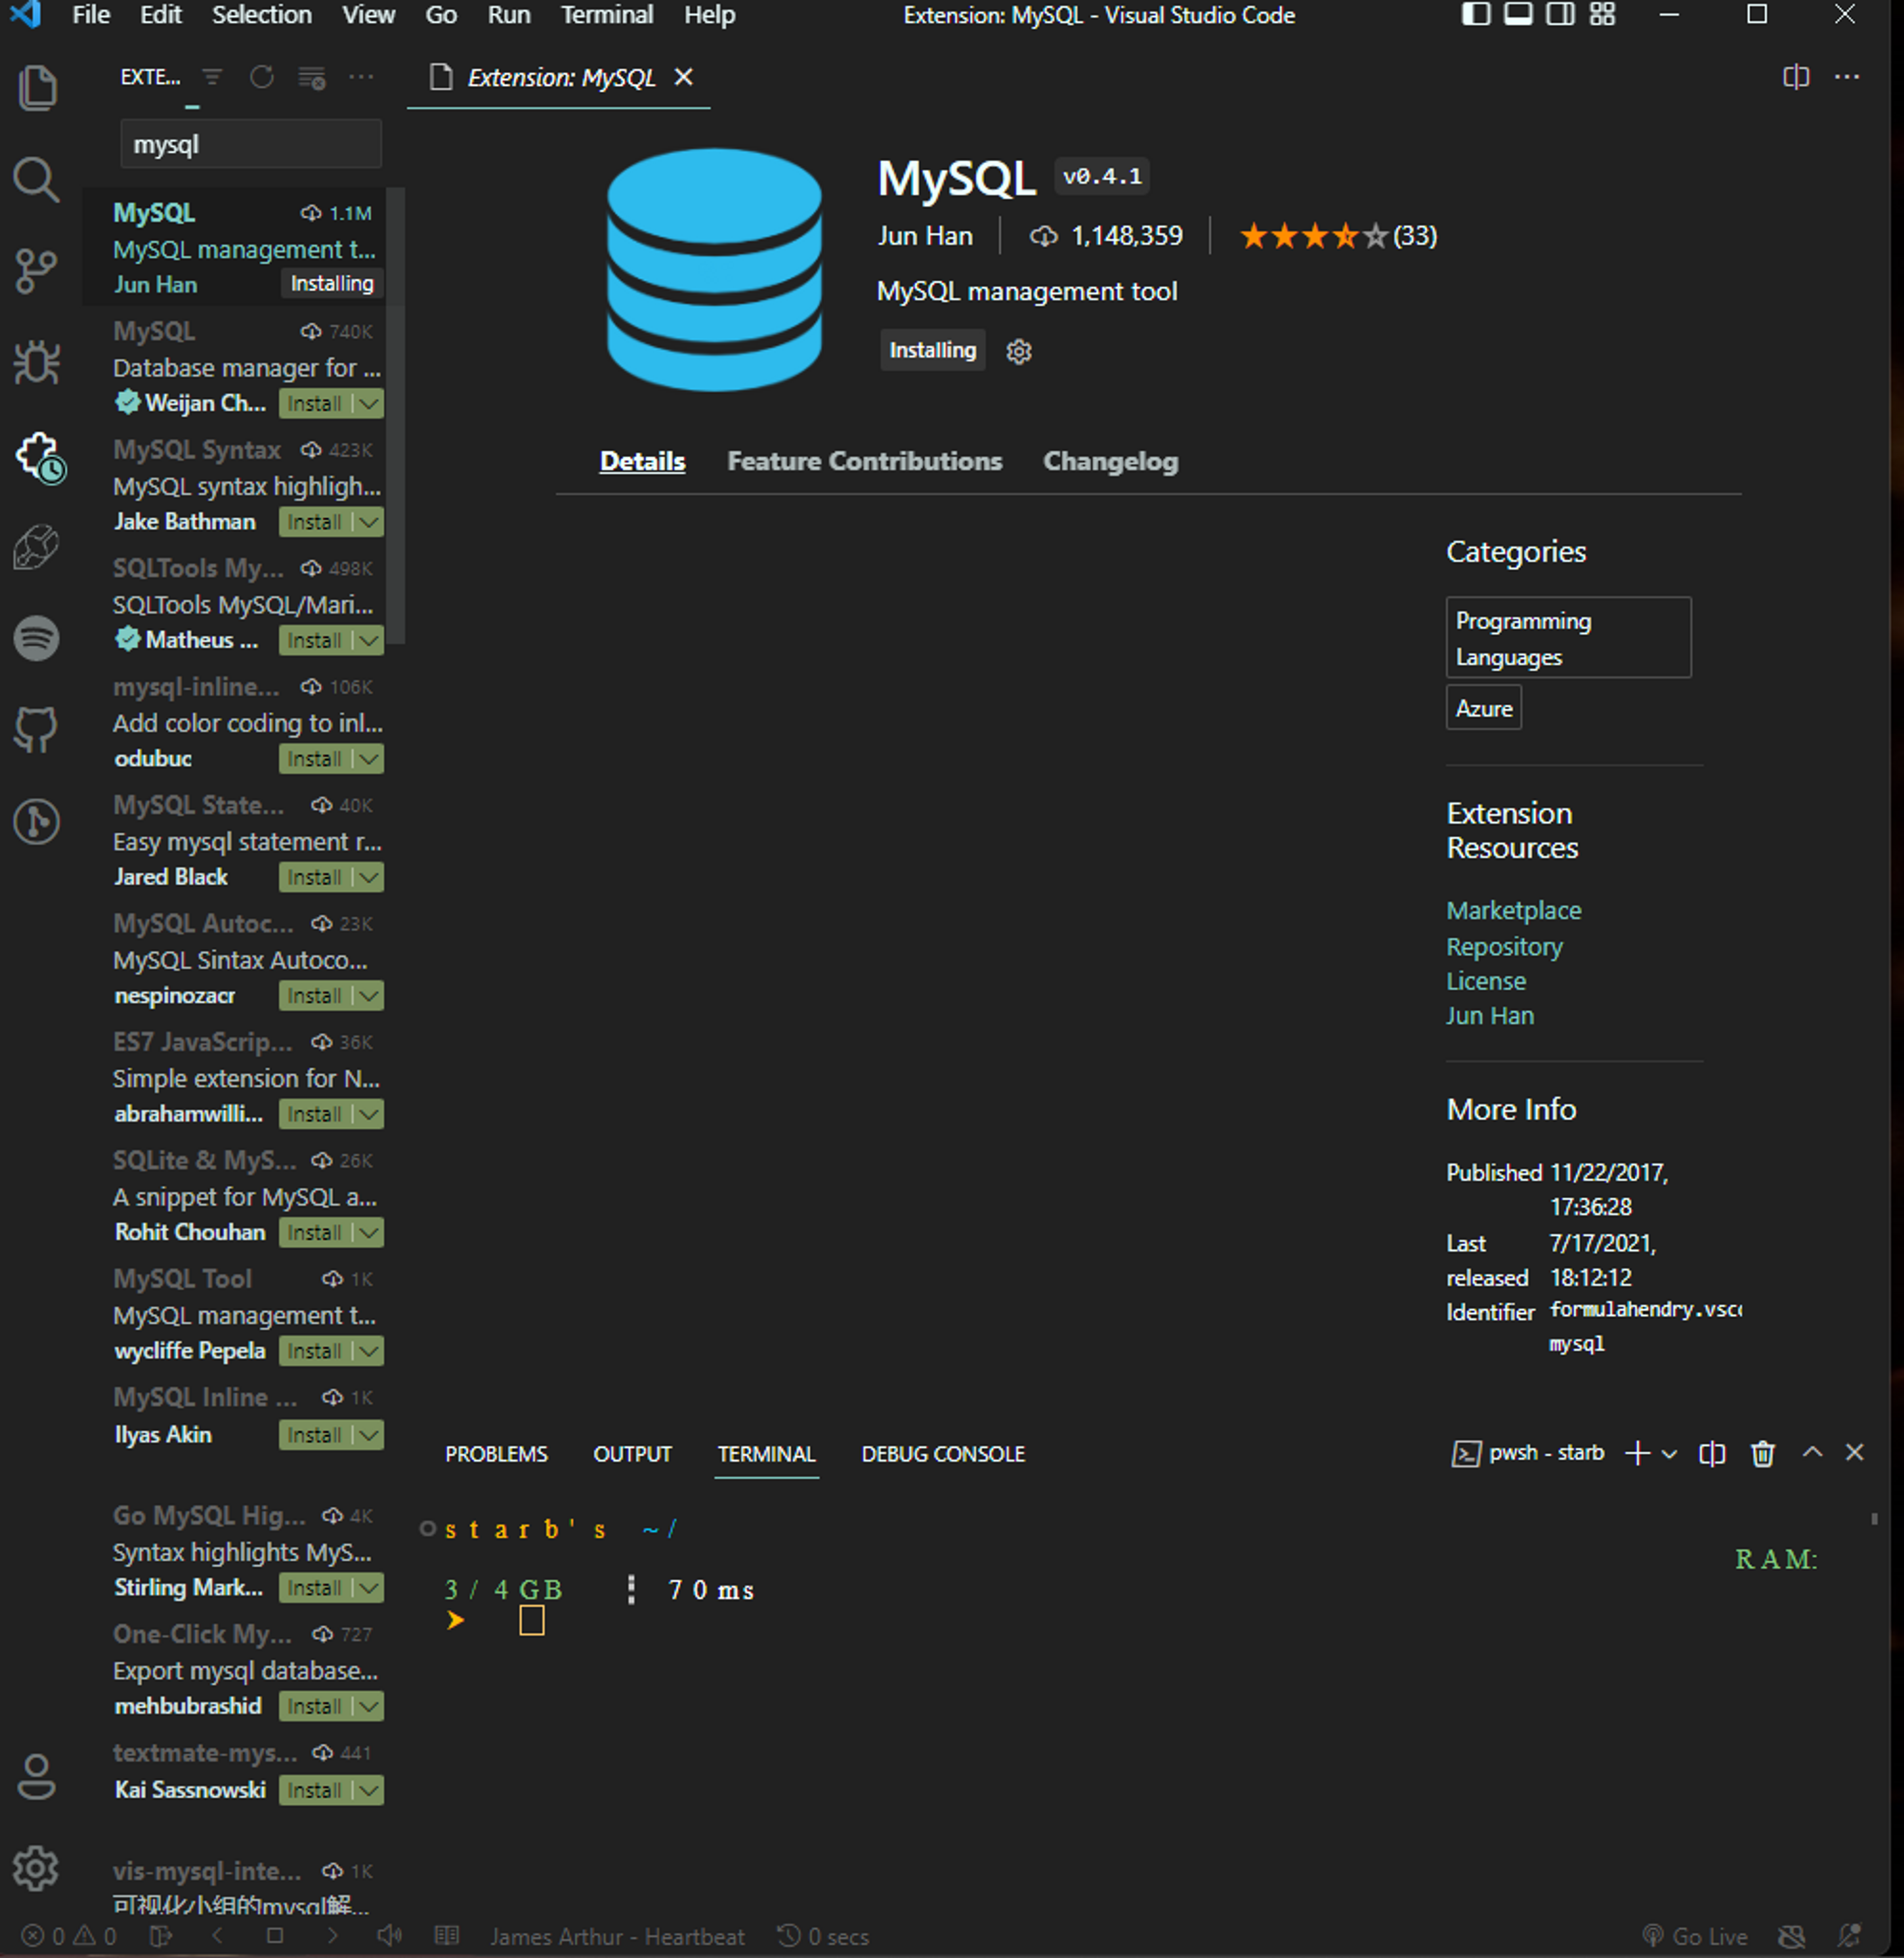
- Install the MySQL extension for VS Code:
- Open VS Code and click on the "Extensions" icon in the left sidebar.
- Search for "MySQL" in the extensions marketplace and click on the "Install" button for the "MySQL" extension.
- Connect to a MySQL server:
- Open the Command Palette (Ctrl+Shift+P) and type "MySQL: Connect" to open the connection window.
- In the connection window, enter the connection details for your MySQL server, including the hostname, port, username, and password.
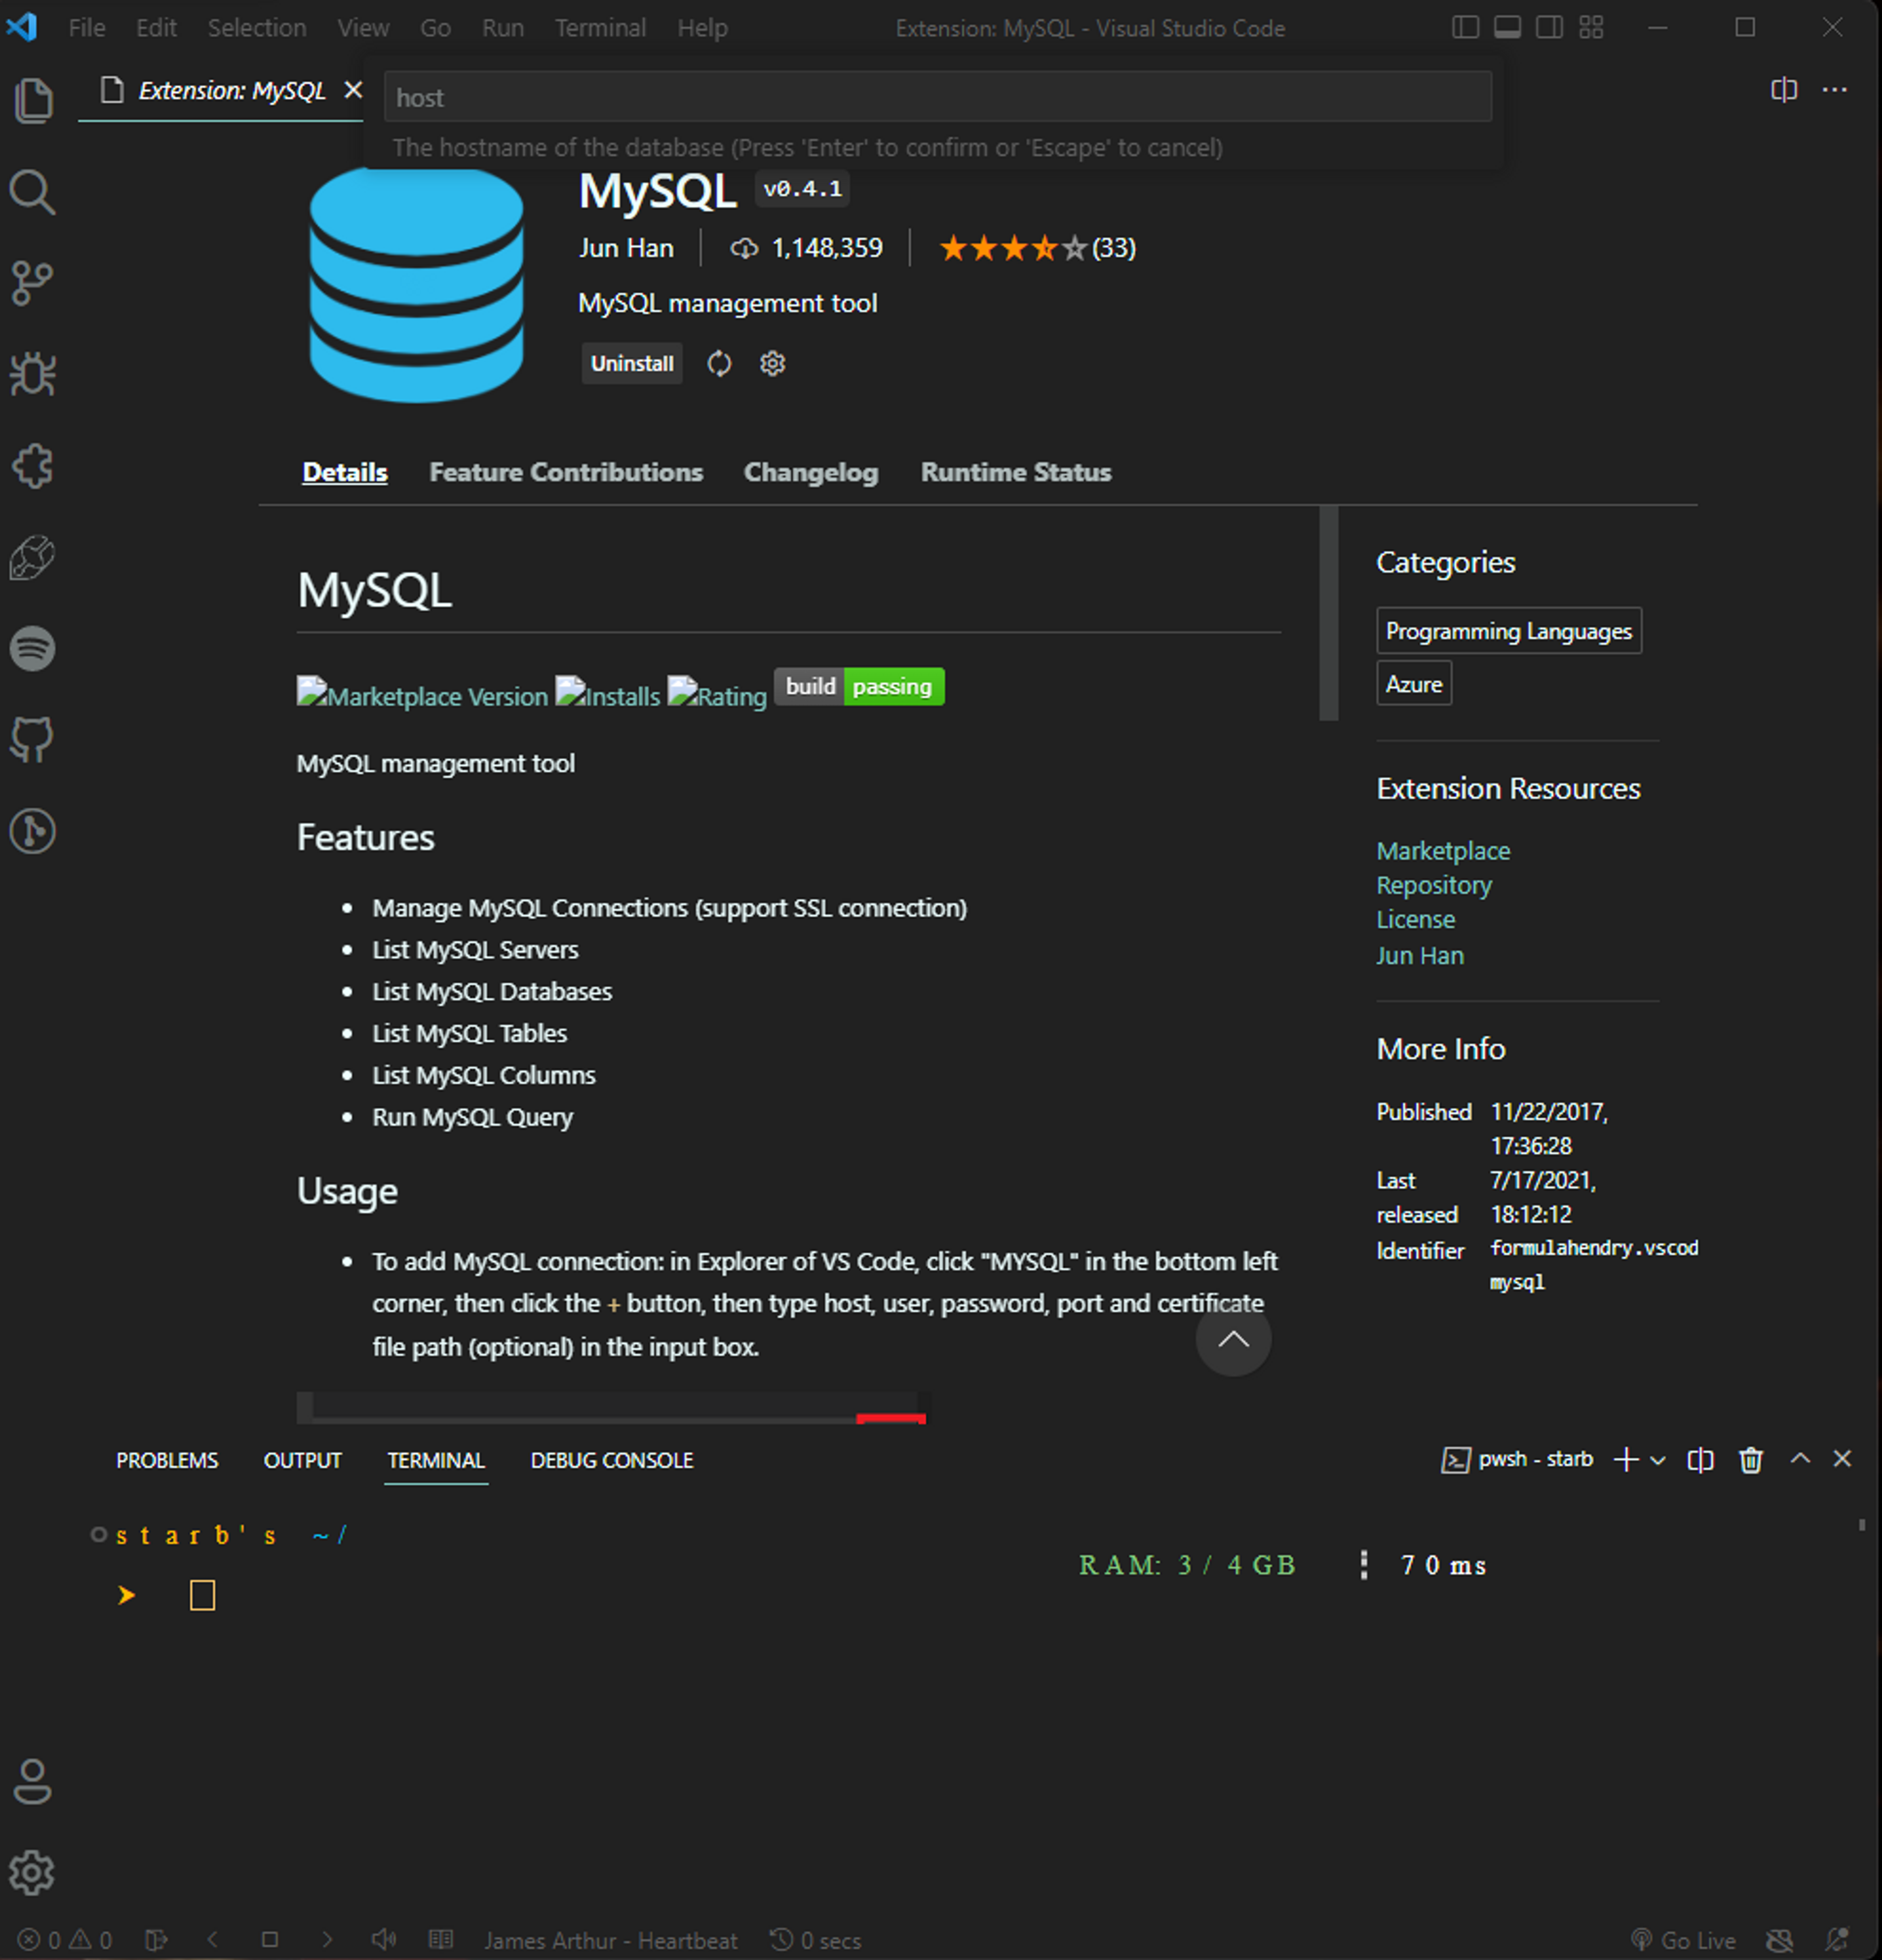
- Click on the "Connect" button to establish a connection to the server.
- Execute queries and manage the database:
- Once you are connected to the server, you can execute queries and manage the database using the MySQL extension.
- To execute a query, type the query in the editor and press "Ctrl+Enter" to run it.
- The extension also provides features such as database and table browsing, schema management, and import/export functionality.
I hope this helps! Let me know if you have any questions or need further assistance.
About Hanii
I'm hanii a creative coder, blogger, and self-proclaimed develope.